Thursday, March 30, 2017

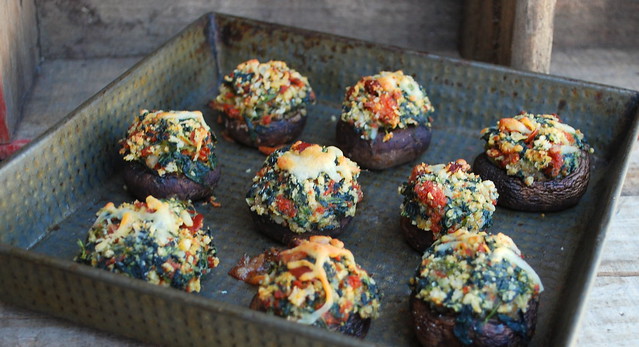
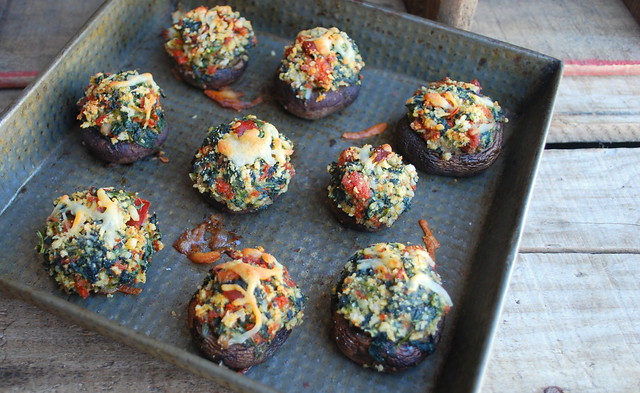
Maria's Stuffed Mushrooms (Spinach & Linguica Stuffed Mushrooms)

Marias Stuffed Mushrooms blog 2

I always say the best recipes are handed down from generation to generation. You know the recipe must be good if people want to make over and over again, decade after decade. So when I find one, I want to help preserve it.

The reason I started this blog over a decade ago was because I wanted to have something to pass down to my boys. A written history of the food that makes memories in our family. I swear I'm going to try to start looking at getting a cookbook written. It's something I really need to do.

Until then I'll help pass down delicious recipes like these. My friend Jillian posted a photo of some stuffed mushrooms that she had made, and I immediately asked her for the recipe. I was so happy when she shared the recipe with me, and even happier when I found out it was from her Nonna Maria.

I know Linguica might not be a sausage that is readily available everywhere, so feel free to substitute your favorite sausage in it's place.

These are so tasty mushrooms. Thanks Jillian and Nonna Maria. This recipe lives on a little longer.

Marias Stuffed Mushrooms blog

Maria’s Stuffed Mushrooms
Recipe from Jillian O’Connor's Nonna Maria
PRINTABLE RECIPE
3 - 6oz packages of portobello mushrooms 
10 oz package frozen chopped spinach, thawed and squeezed dry
1/2 cup of ground linguica, (uncooked)
1 egg, lightly beaten
1/3 cup panko or Italian style bread crumbs
3 tablespoons freshly grated pecorino romano cheese
3 tablespoons freshly grated parmesan cheese
Shredded mozzarella for topping
Olive oil for brushing on top

Remove the stem from the mushroom and clean with a damp paper towel to remove any dirt. Place on a parchment or foil lined sheet pan. 

Add the spinach to a large bowl, breaking it up a bit so you don’t have clumps. Add in the linguica and breadcrumbs. Mix until combined. Add in the pecorino romano and parmesan cheese and stir to combine. Beat the egg slightly and add to bowl. Give it one more good stir. Before stuffing, brush the tops of the mushrooms with olive oil. Stuff each mushroom with the mixture. Put a good amount in each mushroom. I used a teaspoon and really packed the stuffing into the mushroom and then piled it up and used my hand to mound it on top. Sprinkle each one with a bit of mozzarella. Bake at 375 for 25 min or until cheese is hot and bubbly!

Friday, March 24, 2017

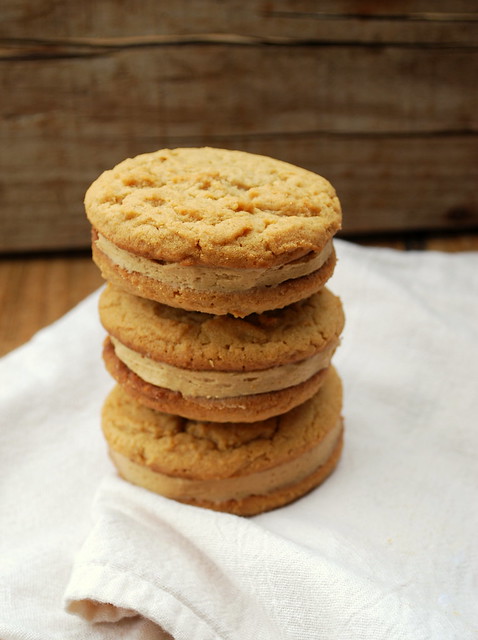
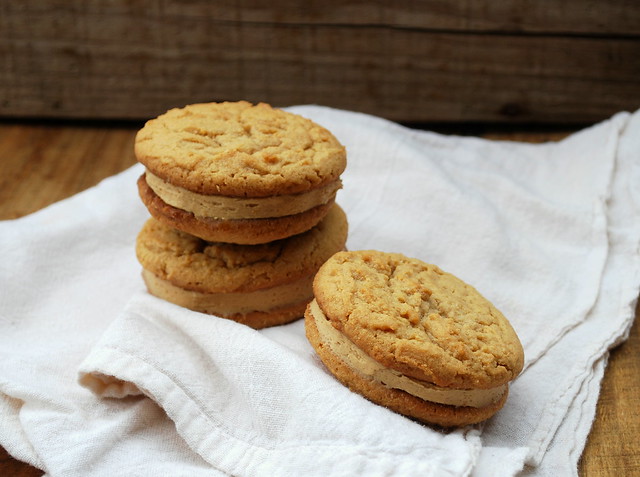
Peanut Butter Filled Sandwich Cookies

Peanut Butter filled sandiwch cookies BLOG

My husband doesn't ask for much in the way of food from me.

He's a man that eats pretty well and doesn't complain about much. I still can't get him to love eggplant, but I can forgive him that one food aversion.

He does like his cookies though, and he enjoys nothing more than sitting down at the end of a long day with a big glass of milk and some cookies. I don't make sweets every week and I certainly don't make cookies every week, so when I saw him almost grab a package of cookies from the store, I cringed. No, we won't be buying any of those thank you. So he put them back and asked if I would make him some cookies, and I couldn't say no to that.

So I scrounged through some old recipes and found one for these beauties. Now I'm not a big peanut butter fan so I had to rely on my husband for feedback. He took one bite and said "oh my God these is amazing!" He quickly devoured the cookies and proclaimed "that was one fantastic cookie". I'd say based on those reactions, we have a winner.

Just a last note, the filling, which I had all over my hands after filling these, was not sickeningly sweet. Just the perfect peanut butter/confectioners sugar balance.

Peanut Butter filled sandiwch cookies BLOG. 1JPG

Peanut Butter Filled Sandwich Cookies
recipe from Lisa@The Cutting Edge of Ordinary
PRINTABLE RECIPE
1 cup creamy peanut butter
1 stick butter (1/2 cup), softened
1 cup brown sugar, packed
1/2 cup white sugar
2 eggs at room temp
1 teaspoon vanilla extract
1 1/2 cups all purpose flour
1/2 teaspoon baking powder
1/2 teaspoon baking soda

Peanut Butter Filling
1 1/4 cups creamy peanut butter
6 tablespoons unsalted butter, room temperature
1 3/4 cups Powdered sugar
2 -4 tablespoons heavy cream or milk
1 teaspoon vanilla extract

In a stand or electric mixer, cream peanut butter and butter together until very smooth. Add sugars and continue to beat until very creamy. Add in eggs and vanilla and mix until well combined. In a separate bowl, whisk flour, baking powder and baking soda together. Mix dry ingredients into peanut butter mixture just until combined – don’t over mix!

Roll dough into 1 tablespoon balls and place 2-3 inches apart on a baking sheet. I used a cookie scoop and they all came out the same size. Bake cookies at 350 for 12-15 minutes or just until edges are golden (mine took exactly 15 minutes but my cookies were a tad bigger than a tablespoon). Let cool for 5-10 minutes before transferring to cooling rack. Let cool completely.

Peanut Butter Filling:
Meanwhile, make the filling by beating peanut butter and butter together until creamy. Gradually mix in powdered sugar. Mix until well blended. Add the heavy cream or milk a few tablespoons at a time until mixture becomes creamy and spreadable. Add in more cream or milk if needed to reach desired consistency.

When cookies have cooled, spoon a heaping tablespoon of the filling onto the bottom side of half the cookies; top with remaining cookies right side up and push down to spread filling.

Monday, March 20, 2017

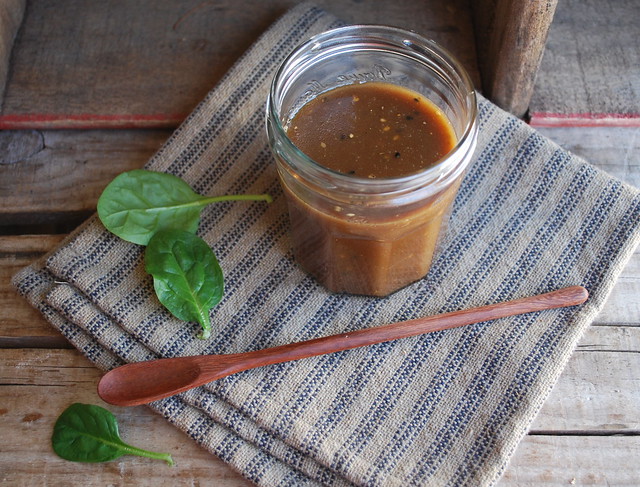
Maple Mustard Balsamic Dressing

Maple Balsamic Dressing blog 1

I always feel like a bit of a mad scientist in the kitchen when I'm making dressings. There are bottles and ingredients all over the counter and I'm mixing a little of this and a little of that until I get the perfect potion. I hit a home run with this one.

I love balsamic in everything and anything so the addition of it to this dressing was a no brainer for me.

I tend to like my dressing a little more on the tangy side, so I have to stop myself from making a dressing so tangy that no one else will want to eat it but me.

I always have Simply Asian seasoning my pantry, if you don't have it, no worries. This dressing is just as scrumptious without it. You can always throw a few sesame seeds in for good measure if you have them on hand, or add any kind of spice that you like.

Feel free to make this dressing your own. You can also use any kind of light oil that you like and you can substitute the maple syrup for raw honey or even agave nectar. Make it your own! Add a little of this and a little of that, taste it along the way, make notes, and in no time you'll have a dressing perfect for your taste!

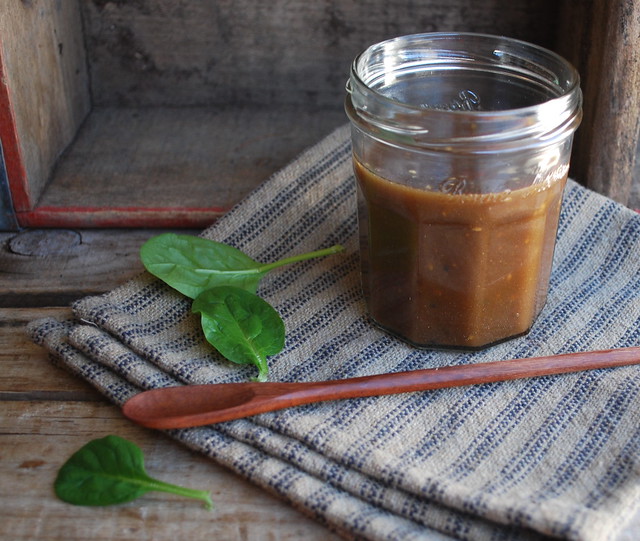
This should keep in the fridge for well over a week, but probably won't last that long!

Maple Balsamic Dressing blog 2

Maple Mustard Balsamic Dressing
recipe Lisa@The Cutting Edge of Ordinary
PRINTABLE RECIPE
1/4 cup pure maple syrup (not pancake syrup please!)
3 Tablespoons of Dijon mustard
1/4 cup balsamic vinegar
3/4 cup flavorless oil (vegetable, canola, sunflower, etc)
1 tablespoon Simply Asian Sweet Ginger Garlic seasoning (optional but delicious)

Put all the ingredients in a jar and shake! Store in refrigerator.

Tuesday, March 14, 2017

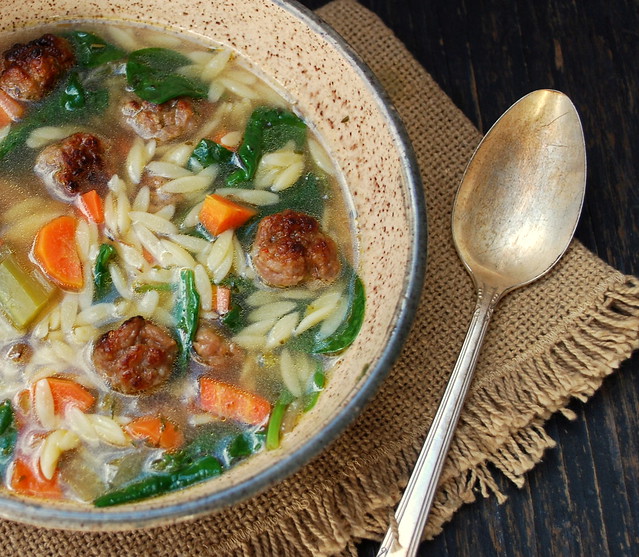
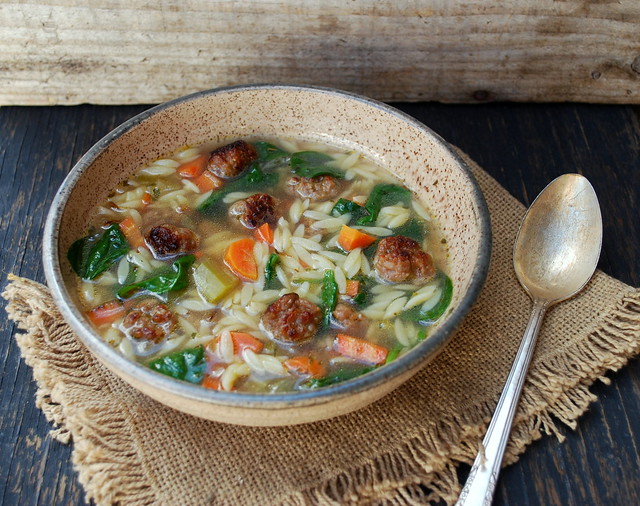
Italian Orzo Soup with Sausage and Spinach

Italian Sausage Orzo Soup BLOG 2

I'm at it again.

I'm making soup.

Most Sundays during the winter I make a big pot and we eat it throughout the day and then eat the leftovers, if there are any, for supper Monday night. It's become a little tradition for us. Since we have a blizzard headed our way, I made soup on Sunday for tomorrow. Just prepped everything but the pasta. I'll cook that up separately and we'll be good to go. Thankfully I have a gas stove, so if we lose power, I can still use the stove top.

A few weeks ago I made this Italian Wedding Soup -----> click. Last week I made a little u-turn and turned it into Italian Orzo Soup with little sausage bites in it. So yummy!

The hardest part about making this soup was rolling the sausage into little balls. I cooked up the sausage in the morning so that part of it was out of the way. The rest was a breeze.

Italian Sausage Orzo Soup BLOG

I cooked a whole pound of orzo because we really like our soup with lots of pasta in it, you can cut back on that amount if you'd like it more brothy.

Italian Orzo Soup with Sausage and Spinach
recipe from Lisa@The Cutting Edge of Ordinary
PRINTABLE RECIPE
2 tablespoons olive oil
1 lb. ground Italian sausage rolled into bite­ sized pieces
1 small onion, diced
3 garlic cloves, finely chopped
2 celery stalks, chopped
3 carrots, chopped
1 lb orzo pasta
6 - 7 cups reduced ­sodium chicken broth
1 tablespoon dried Italian seasoning
4 cups lightly packed baby spinach (optional)
Salt & pepper to taste

Add some olive oil to a large pan and lightly brown the sausage. Don't worry if they are a little pink inside. When you add them to the hot soup it will cook the meat. Move to a paper towel lined plate or bowl and set aside. Add a bit more oil to the same pan and cook the onion, celery and carrots until just tender.

Meanwhile in a large dutch oven heat up the chicken broth. See my notes on how to make quick, delicious chicken "stock" below.  Season with salt and pepper, and 1 tablespoon of Italian seasoning. At this point I add in about 4 cups of baby spinach leaves. This is optional, but highly suggested! Slowly bring to boil.

While that is cooking, I boiled some salted water and cooked the orzo until it is al dente. Once the soup comes to a boil, lower the heat, add in the sausage and the orzo, give it a good stir, heat for another 5 - 10 minutes then serve!

Note* You can certainly buy chicken stock but I like to make a quick chicken "stock" by boiling a small 3 - 4 pound chicken carcass. You can even do this with a rotisserie chicken. Just pick the meat off the bones and then throw all the bones and skin into a soup pot, bring to a boil and simmer an hour. Remove the chicken bones and you have a fast chicken stock! I save the chicken meat for another meal or freeze it for my next batch of chicken soup.

Friday, March 10, 2017

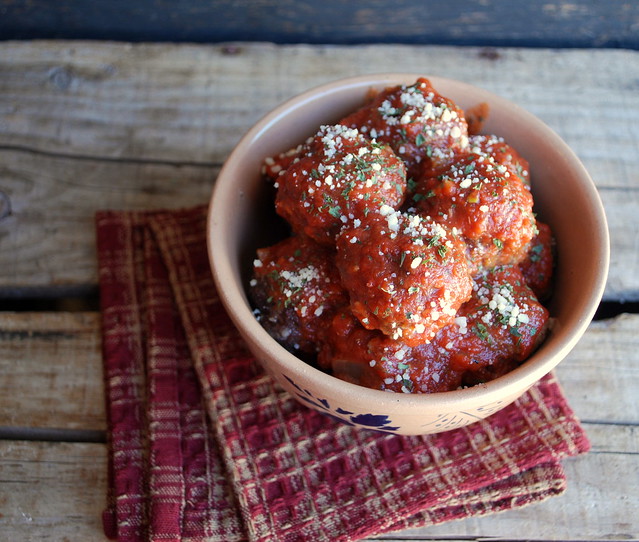
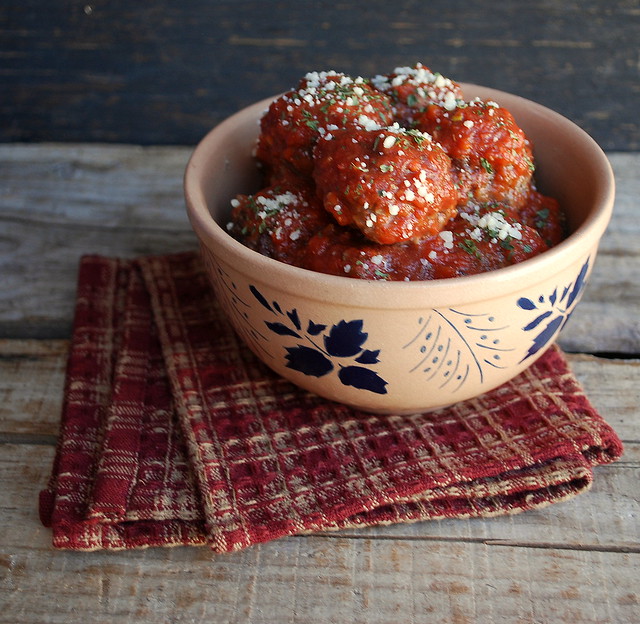
My meatballs and sauce

Meatballs and sauce BLOG

Some recipes are oldies but goodies. The ones you've been making over and over again, year after year.
I've been making these meatballs and this sauce recipe for over 30 years. I did post both of these recipes before but it was many moons ago when my blog was in it's infancy stage and I've tweaked the recipes slightly over the year.

I think back sometimes to the many recipes that I never wrote down. I just threw them together. I bit of this and that, and maybe next time a bit more of this and a little less than that. While it worked for me, it wasn't helpful to people who wanted to make my recipes, and as I get older, I'd love to have a written history (maybe dare I say a cookbook) to share with my children, family and friends. Now that life has slowed down a bit for me, I just might have time to work on one!

So this is my sauce recipe, written and re-written from an older version I had.Basically the same recipe but a small addition (grated onion) and something new (panko!). The sauce I've been making the same way for ages. It's just your traditional pasta sauce. I often will cook some kind of meat to throw into it, but it's just fine the way it is too.

The convenience of throwing it in the crock pot and letting it cook low and slow all day makes this a no-brainer!

So written down for my someday daughter-in-laws and someday grandchildren I bring you my meatballs and sauce!

As my Dad always says "Mangia, mangia!!
Meatballs and sauce BLOG 1


Lisa's Meatballs
recipe from Lisa@The Cutting Edge of Ordinary
PRINTABLE RECIPE
3 pounds ground chuck
1 cup bread crumbs (I use panko)
3 large eggs
1/2 cup whole milk
1 cup grated Romano cheese (or grated cheese of your choice)
1 small Spanish (red) onion, grated
4 or 5 cloves garlic, chopped
1 tablespoon Italian seasoning
1/3 cup fresh chopped parsley
1/3 cup fresh chopped basil

Pre-heat the oven to 350 degrees. Get out a large bowl to mix this all in. The first thing I do is put in the ground beef and then I take my grater and grate as much of the onion as I can. I usually grate te onion over a bowl to capture the juices as well. It's good stuff, put it in the bowl! Mix in the rest of the ingredients and get your hands in there.  Yes your hand.  Just  get them in there and get mixing. Try not to over-mix, stop one the mixture comes together.  If it seems a little loose add a bit more breadcrumbs, too dry add a little more milk.

Line a sheet pan with parchment paper and spray lightly with cooking oil. Roll each meatball the size of golf ball. This recipe makes about 50 meatballs. Cook for approximately 30 - 35 minutes. I usually check them at the 20 minute make and turn them a bit. Don't worry if they are still a tad pink in the center,  thrown them in the sauce to let them cook a bit more.

If 49 meatballs is too much for you (it never is for us), you can freeze them for use later.

*Freezer tip. Place cooked meatballs on a cookie sheet lined with parchment and freeze for about an hour and a half, or until meatballs seem firm. Place in a freezer bag or container. These thaw nicely in a big pot of sauce.

Lisa’s Sauce
recipe from Lisa@The Cutting Edge of Ordinary
PRINTABLE RECIPE
1 large onion, chopped
2 tablespoons olive oil
5 - 6 cloves of minced garlic
3 – 28oz can crushed tomatoes
1 - 6oz can tomato paste
3 tablespoons fresh chopped basil
2 bay leaves
Heaping tablespoon of Italian seasoning
2 tablespoons parsley

In a large skillet heat enough olive oil just to cover the bottom of the pan, about 2 tablespoons. When it’s good and hot throw in your onions and give the pan a good pinch of salt. Cook the onions until they are soft and translucent. When they are almost done, add the garlic and let it cook for about a minute with the onions. Turn heat off and set aside.

Now get your crock pot out and open up 3 can of the crushed tomatoes. As I empty each can, I rinse it out with a little bit of water that I throw back into the crock pot. You don’t want to add a lot of water back in, just enough to rinse the sauce away from the side of the can, maybe about a tablespoon of water for each can. Add in the tomato paste, bay leaves, some fresh basil if you have it, if not dried it fine. I use fresh herbs whenever possible, but sometimes you just can’t get fresh, especially here in the winter. Grab a good heaping tablespoon full of dried Italian seasoning and rub it between the palms of your hands and put that in the pot. This helps release some of the essential oils, and will add more flavor to your sauce. Now grab the pan of onions and garlic and add those in and give it all a good stir. I let this cook on low in the crock pot all day (about 6 hours). You could cook it on high if you are in a hurry, but I would still let it cook a minimum of 4 hrs.

Things I add in from time to time:

Most times I will cook up some spare ribs, or pork chops, or a cheap cut of steak and add that in. Really any meat will do. I always cook the meat about ½ way through before. Sometimes I will grab a stick of pepperoni and chop it into big pieces and throw it in. Experiment with what you like and make it your own. This recipe makes a lot of sauce but you can freeze what you don’t use then just defrost it and re-heat.
Tuesday, March 7, 2017

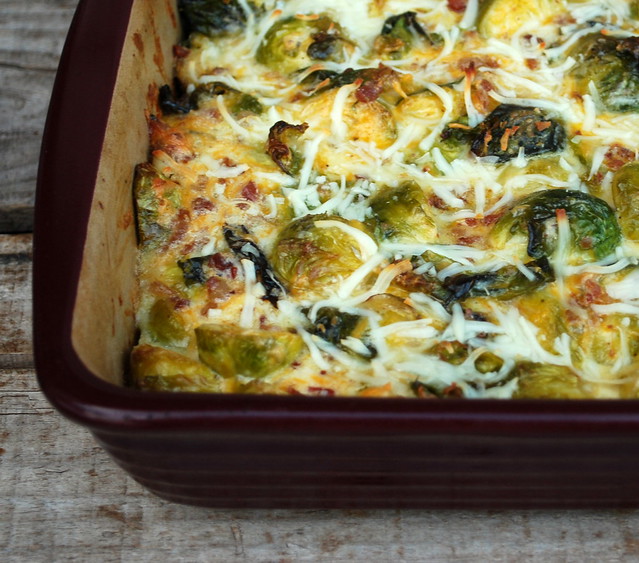
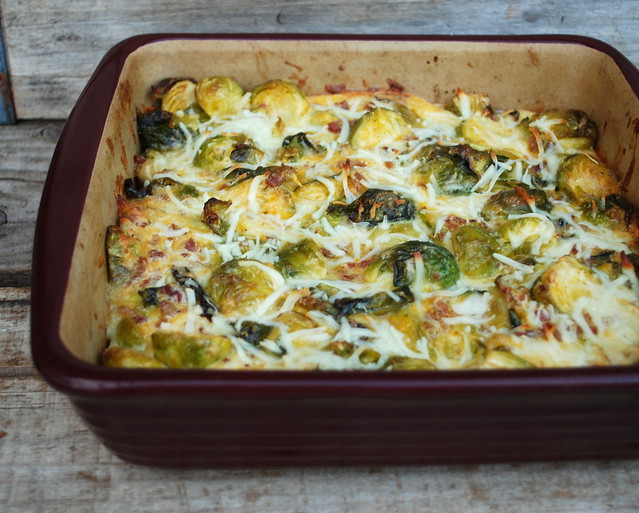
Bacon Brussel Sprouts au gratin

Brussel Sprouts Gratin blog 2

Brussel Sprouts! I love them!I know lots of you don't, and I'm sorry for that, you'll just have to wait for the next recipe. But let me tell you this about this particular recipe. My friend Mitchell, who does not like brussel sprouts ate this and loved it, so don't knock it till you try it!

I saw this recipe on one of the many little video recipes on Facebook and I immediately put brussel sprouts on my shopping list. I made this for a small dinner party and everyone went nuts over them. Even the sprout haters!

It's so good that I'm adding it to my Easter menu.

It cheesy and delicious and I can't wait to make it again!

Brussel Sprouts Gratin blog
Bacon Brussel Sprouts au gratin
slightly adapted from a recipe at 12 Tomatoes
PRINTABLE RECIPE
2 lbs pounds brussel sprouts, halved and tough end trimmed.
2 tablespoons extra virgin olive oil
6 slices of bacon, cooked and crumbled
3/4 cup heavy cream
1 egg
1 teaspoon garlic powder
1/2 teaspoon red pepper flakes, optional
1/2 cup mozzarella cheese for sprinkling on top
1-1/2 cups sharp cheddar cheese, grated
Kosher salt and freshly ground pepper, to taste

Oven to 400. Toss brussel sprouts in olive oil and season generously with salt and pepper. Place them in a 8x8 baking dish and roast for 15‐20 minutes, or until semi‐softened.

In a large bowl, whisk together the heavy cream, egg, and garlic powder and red pepper if using. Stir in cheese.

Remove brussel sprouts from oven and add 3/4 bacon to the baking dish. Pour cheese mixture over the top and stir everything together, then top with remaining bacon and mozzarella.Reduce oven temperature to 350ยบ, return baking dish to oven and bake for 20‐25 minutes, or until cheese is bubbly and just set. Remove from oven and let cool 5 minutes before eating.

Friday, March 3, 2017

Light and Fluffy Cornbread

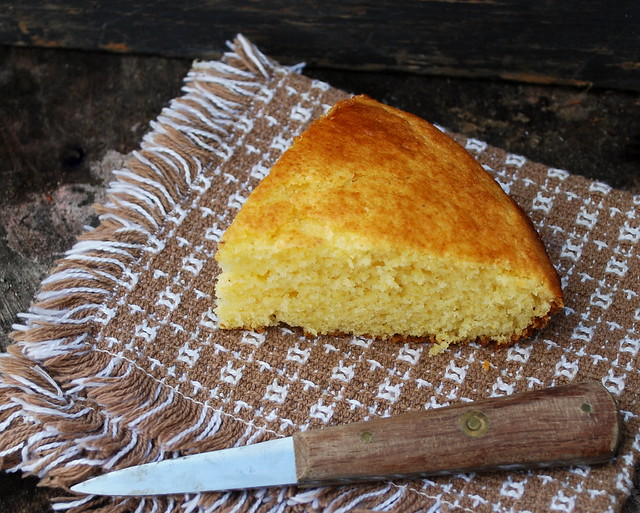
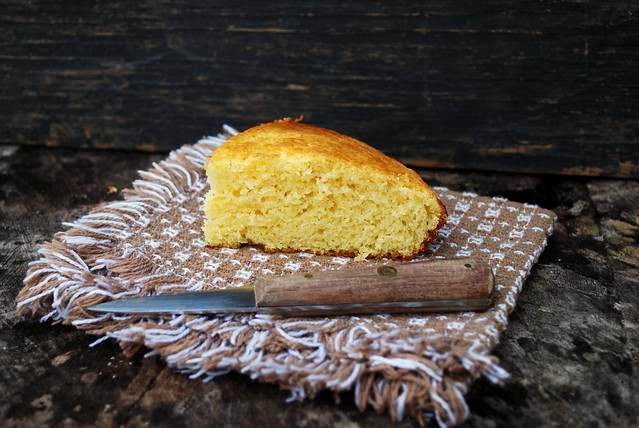
Light Fluffly cornbread slice blog 1


Growing up we didn't eat a lot of corn bread. It just wasn't something my Sicilian family made. I never really thought about it until I went to a restaurant once and had it as a side. Man, it was delicious.

Fast forward to a few months ago. My husband and I traveled to Massachusetts for a little adventure and we ended up in this little bar and grill. When we walked in we were greeted by a friendly hostess who immediately asked us if we wanted the corn bread starter. No charge, we give cornbread to all our customers. What??? Well who are we to say no. So a few minutes later she brings two little mini loaves of cornbread to the table. We dig in. Oh. My. Word. John and I ate every crumb of those little loaves. It was moist and fluffy and melted in your mouth and ever since that day I've had cornbread on the brain.

I have to bring up the one thing that I know I will be taunted about. I have southern friends. As most of you know, southerns don't put sugar in their cornbread. Well, I'm not southern and we do put sugar in our cornbread. It's just sugar people. I know we can get along and not argue about sugar in cornbread right? So if you are southern and you're reading this shaking your head, I apologize but this Yankee will always put sugar in her cornbread!

This is the best cornbread I've ever made and I've tested quite a few recipes that didn't end up being posted. It's so light and airy. My go-to cornbread recipe from now on.

Light Fluffy Cornbread slice BLOG

Light and Fluffy Cornbread
recipe from Lisa@The Cutting Edge of Ordinary
PRINTABLE RECIPE
3/4 cup yellow cornmeal
1 cup flour
2/3 cup sugar
3/4 teaspoon salt
3 1/2 teaspoons baking powder
1 cup milk
1 egg; beaten
1/4 cup vegetable oil

Oven to 400. Stir together all the dry ingredients and make a well in the middle. Pour the milk into a 2 cup measuring cup. Add the oil and eggs and mix with a fork until the egg is broken and the milk and oil start to blend. Pour into well. Mix gently with a rubber spatula. As soon as the ingredients start to come together pour the batter into greased 8x8 pan or pie pan. Bake for 22 - 25 minutes, or until golden brown.